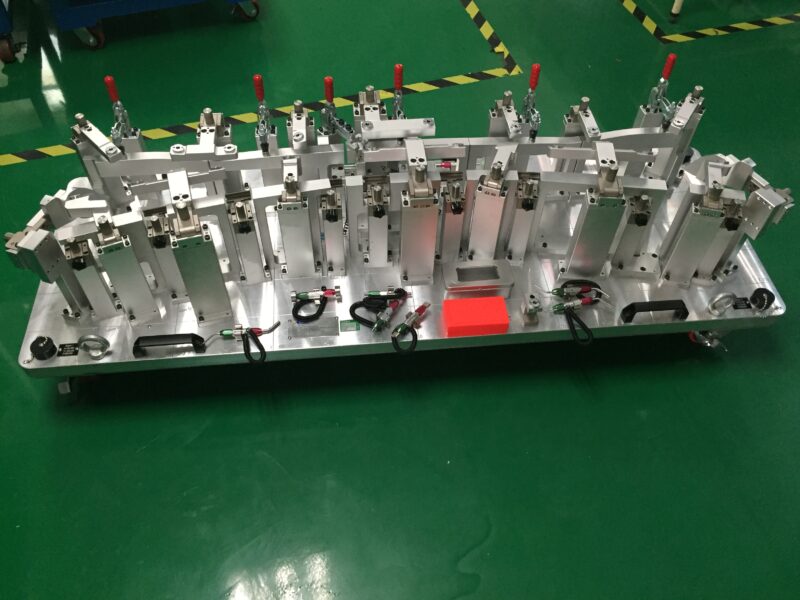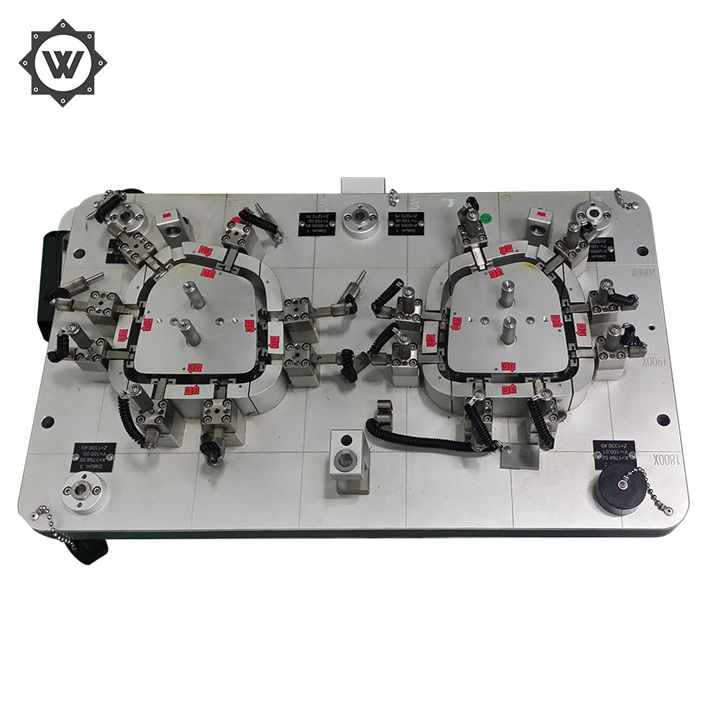
Acceptance requirements for auto body inspection
The evaluation work in the acceptance process of inspection tools is a more complex process. There are many evaluation index factors to be considered, while each set of inspection tools, because of their different roles, determine their structural requirements, technical requirements, precision requirements, material requirements and other aspects are not the same. Therefore, in the specific acceptance process of the inspection tools, should be combined with the inspection tools in the use of the problems encountered in the process of evaluation, rather than simply the same. The following is a brief overview of the assessment indicators based on the comprehensive quality assessment index system of the inspection tools.

1) Structural requirements
The inspection tool should be simple, stable and reliable, easy to operate, and must meet the design and use requirements. Its basic structure can be used to measure some aspects.
(1) skeleton and base: whether there is sufficient strength and stiffness; whether the base is stress relieved; whether the welding is secure, whether there can be false welding, false welding and other defects.
(2) datum surface: the lower part of the skeleton is set up in three directions, the datum value is the theoretical coordinate value of the car, as an integer, and marked on the datum plate. The datum surface must be made by grinding process. Each datum surface of the bottom seat should be set up to protect the Urethane.
(3) the reference hole: and the reference surface as a basis for each other. Including the layout of the benchmark block, height, hole diameter, hole on the surface edge form, protection measures (such as the configuration of Urethane sheath) and so on.
(4) the foot: the connection with the base plate, large inspection tools need to set up rollers, universal with a brake.
(5) type surface: 0mmm, 1mm, 3mm clearance surface mark out; type surface using the form to be reasonable, the use of section sample plate, its structural form, and the rest of the components must not interfere, to be stable, no loosening, and to have a placement position.
(6) hole: test hole aperture to be reasonable, depth to meet the provisions, test pin and the corresponding hole size should also comply with the provisions; general hole according to the size of the aperture selection of different scribing; visual inspection of the hole processing methods and forms to be unified.
(7) cardboard: cardboard and checker type surface distance is consistent, card gauge and the base corresponding to whether there is a corresponding number.
(8) functional parts: including positioning pins, detection pins, clamping devices. The three respectively to comply with the provisions of the technology.
(9) cutting and flanging: check the corresponding surface or scribe as a benchmark, with a steel plate ruler or conical plug gauge measurement
Measure and check.
(2) precision requirements
(1) surface accuracy: including the reference surface perpendicularity, parallelism, roughness; zero surface accuracy; 1mm surface accuracy; 3mm surface accuracy; the accuracy of the outer and inner coverings in the sectional sample.
(2) hole accuracy: the reference hole, inspection hole, visual hole, countersink hole position accuracy of each.
(3) Contour accuracy: including: shape related with contour accuracy; trimming contour scribing accuracy; profile
Contour scribing accuracy; network line scribing accuracy.
3 ) Technical requirements
Technical requirements that is, in the design, manufacture and acceptance of the whole process of the inspection tool, the overall requirements of the relevant aspects of the inspection tool. In a nutshell, it can be measured by the following four indicators.
(1) Coordinate measurement data: through the coordinate machine measurement data and the checker data comparison, to meet the basic requirements of the size.
(2) positioning and benchmark: positioning should be stable and reliable, positioning method according to the standard requirements; benchmark should generally have two sets, one set of hole benchmark, the other set of side benchmark, and can be based on each other.
(3) movable parts: and other parts location, whether out of range, whether there is a balancing device, whether there is a mark between each other, etc.
(4) all kinds of regulations: all kinds of regulations including checker color code, label, instruction manual, production cycle, operational safety matters, handling regulations, etc.
4 ) Material requirements
(1) skeleton and base: according to the actual situation of our manufacturers, generally use square tube and steel plate frame welding structure, welding should be secure, there should be no false welding, false welding and other defects, and aging treatment. The base should be stress relieved treatment, with sufficient strength and rigidity. In addition to the base, all steel parts should be treated with hairland.
(2) type surface part: the inner layer (reinforced layer) using epoxy resin glass fiber reinforced plastic, thickness 4 – 8mm; the surface layer (working surface) using processing plastic, thickness 10 – 12mm. The type surface must be smooth and rounded to match the type surface, the coating should be solid, no flaking defects, and there should be no cracks during the use period.
(3) test reference blocks, pins and bushings: 45 # steel, heat treatment HRC38 – 42
(4) Clamping device: manual quick clamping device, and the contact parts with the stamping parts should be made of elastic non-metallic materials.
