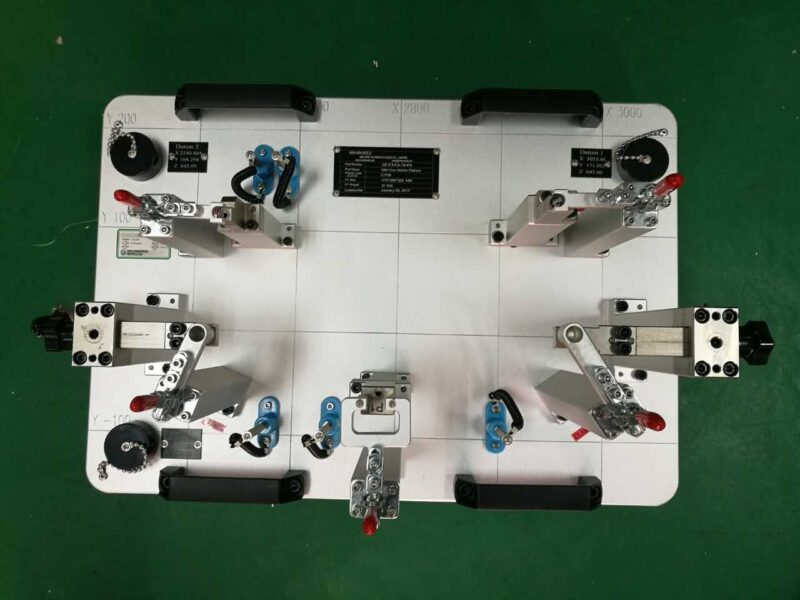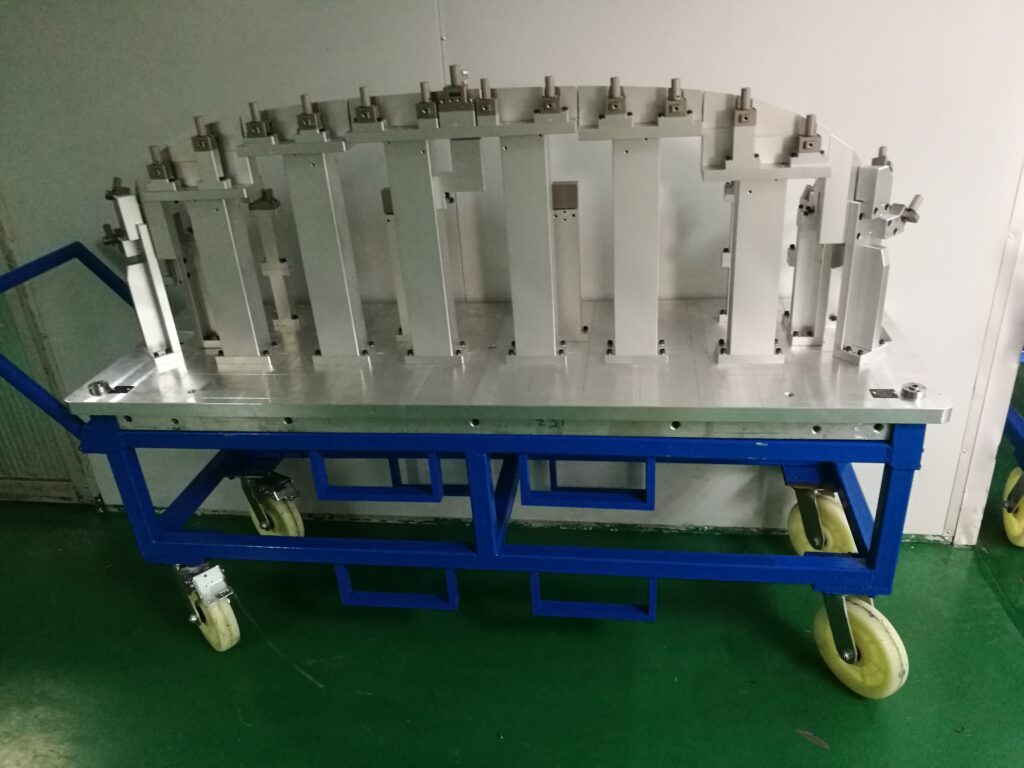
Analysis of six points of use elements of fixture base plate

When the base plate is used on the machine tool, it is easier to set and install the fixture by setting the threaded hole, reaming hole and groove. Generally, it is made according to the shape of the worktable of the machining center. Its functions include adjusting the height of the workpiece, protecting the worktable of the machine tool, and adjusting the orientation of the workpiece as required to process multiple surfaces at the same time.
1
Type of base plate and base
Vertical machining centers mainly use baseplates. In addition to the base plate, the horizontal machining center also has single side base, double side base and four side base.
In order to correspond to various workpiece sizes, horizontal machining centers also use six side and eight side bases. In Figure 2, the darker orange mark of the workpiece is the surface that can be machined.
2
Type of base plate and base mounting surface
The mounting surface of base plate and base fixture is installed in the form of T-groove, bolt hole and datum hole. In addition, in order to make the accuracy of the machining center consistent with the accuracy of the fixture mounting surface as perfectly as possible, there is also a form of self machining when actually processing.
The ground tilt of the machine tool factory, the tilt of the spindle after years of use, and so on, each machine tool will have its own individuality. The residual materials held by the fixture mounting surface can be processed to make it fit the machine tool individuality and make the fixture mounting surface more accurate. There is also the form of tooling and workpiece disassembly outside the machine tool: tooling quick change.
3
Determination of size and positioning method
When selecting the base plate and base, it is necessary to confirm the size and positioning method in advance. The basic dimensions of the horizontal machining center are 400X400, 500X500, 630X630, 800X800. According to different machine tool manufacturers, there are also 300X300, 1000X1000 and other dimensions, and 550X550 and other special dimensions are also produced by machine tool manufacturers. The dimensions of vertical machining centers are different for each machine tool manufacturer, and there are no special rules to specify the dimensions. Each machine tool manufacturer’s worktable size has its own specified size. Please refer to the machine tool manual.
The base plate and base of horizontal machining center are generally positioned by the worktable backup block installed in the X and Y directions. The base plate and base are positioned by fitting the worktable backup block. The position of the workbench backup block is generally set at 0 ° and 270 ° of the machine tool workbench. The position of the workbench backup block varies according to the different machine tool manufacturers. The center of the workbench of a vertical machining center is generally provided with a keyway. Locate the X direction of the base plate and the base through the keyway, and then locate the Y direction of the base plate and the base through the T-slot.
However, not all T-grooves can be accurately positioned. According to different machine tool manufacturers, the machine tool has only one or two T-grooves with positioning function.
4
Confirm the maximum load of the machine tool
First, confirm the maximum load of the machine tool, and then confirm the total weight of the workpiece, fixture, base plate and base. The total weight must not exceed the maximum load of the machine tool. Some designers also calculated the weight of the workpiece, the base plate and the base, but forgot to calculate the weight of the fixture, which can never be ignored.
If the total weight exceeds the maximum load of the machine tool, you can choose to reduce the thickness of the base plate, reduce the thickness of the base mounting surface, or make the base hollow to reduce the overall weight.
5
Confirm the base height and the maximum turning diameter
The maximum height limit and maximum turning diameter of the machine tool must be confirmed in advance when selecting the base plate and base. Especially for horizontal machining centers, the maximum turning diameter must be confirmed. In general, when the base size is 400X400, the maximum turning diameter is Φ 630。 When the base size is 500X500, the maximum turning diameter is Φ 800。 The above two dimensions are common ones, and there is no clear stipulation that this size of base must be used. When clamping the workpiece from top to bottom, the top of the clamp (the top of the bolt in the figure below) must be within the maximum rotation diameter.
6
Confirmation of processing range and stroke
Confirm in advance whether the machining range of the machine tool (the moving range of the spindle) covers all the required parts of the workpiece. Especially when using the milling cutter to process the surface, whether the travel of the spindle can make the cutter completely exit the workpiece range when withdrawing the cutter must be considered in advance during the design. If the cutter withdrawal is not considered, it is difficult to ensure the surface accuracy. When the milling cutter exits the workpiece, the minimum distance between the cutter and the workpiece shall be more than 10mm, that is, the cutter shall be completely away from the workpiece.
