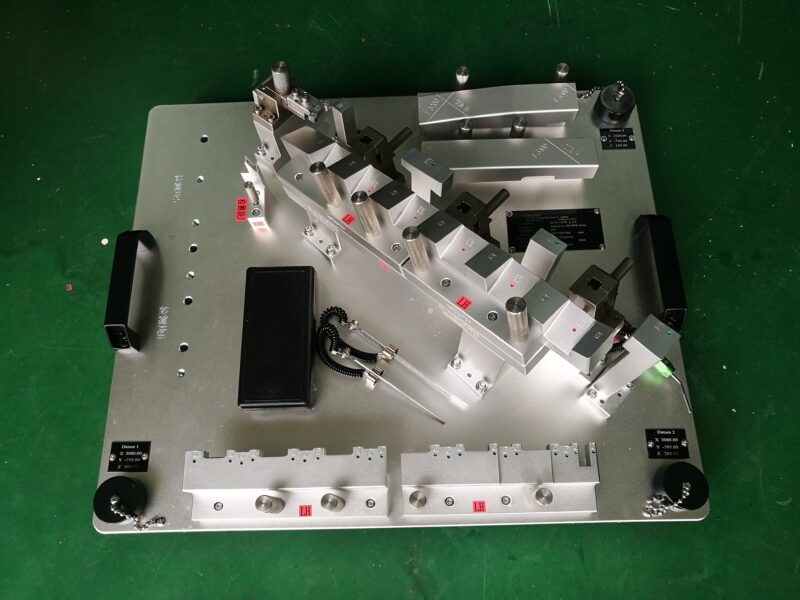
The checking fixture body is the main frame of the special checking fixture, which is mainly composed of the checking fixture measuring body, the measuring seat, the fixed measuring head, the movable measuring head, the spindle positioning block, the guide seat and the locking screw.
The measuring base is fixed on the measuring body of the checking fixture through the socket head cap screws, the mandrel positioning block is connected to the movable measuring head with the socket head cap screws, and the fixed measuring head, positioning support and guide block are welded and fixed on the measuring body of the checking fixture.

The diameter of the right end of the movable probe is φ On the journal and guide body φ The 20H7 inner hole is matched to ensure that the movable probe can move left and right.
The arc groove on the spindle positioning block on the checking fixture body is designed with the following features:
(1) The four supporting and locating bottom planes on the measuring body of the checking fixture form plane B, and the central axis of the arc groove of the mandrel locating block must pass through this plane.
(2) The guarantee of the working surface of the fixed probe and the movable probe φ The 139.5mm cylinder contacts at the same time, and the cylinder center is perpendicular to plane B. The center distance between the cylinder and the circular arc groove of the spindle positioning block is 60 ± 0.01mm.
The above features ensure that after the workpiece is positioned, the center of the arc groove of the spindle positioning block of the checking fixture body coincides with the center of the inner arc radius R70 to be detected, which conforms to the principle of datum coincidence, and ensures the accuracy of workpiece positioning.
The following points should also be paid attention to in the design of the checking fixture body:
The working plane of the measuring base must not only be vertical to datum plane A, but also be vertical to plane B;
In order to ensure that the working surfaces of fixed probe and movable probe have sufficient wear resistance, their surfaces must be high-frequency quenched;
In order to enable the checking fixture to be smoothly installed into the outer circle of the convex cone part of the measured part and positioned, the design shall ensure that when the workpiece is clamped, a 2mm space must be left between the movable probe in the horizontal direction and the left end surface of the guide seat on the measuring body.
