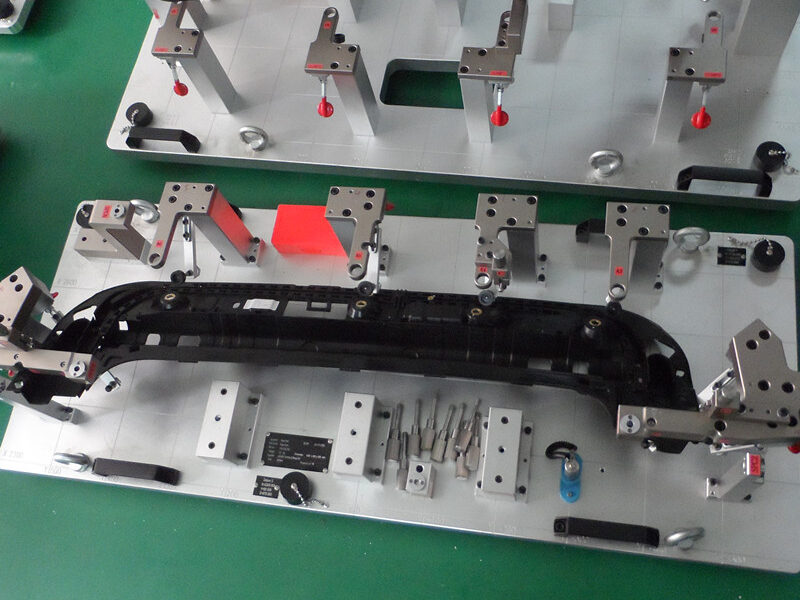
How to use the check fixture

Place the check fixture flat on the workbench, reset the pin 7 and pin 11 of the check fixture, and open the tensioner for measurement.
Take the workpiece, clip the front flange block of the workpiece into the reference block 4, and press it with the tensioner on the pillar 3.
Rotate the pin 7 so that the guide pin on the pin 7 is clamped into the guide slot and downward. If the pin can be smoothly inserted into the tested connector, the connector position is qualified.
Push the shift pin 11 to the left, and the shift pin can move to the bottom. At the same time, along the plane direction of the measuring block 9, visually inspect the position relationship between the measuring block 9 and the work-piece pressing plate. If the position of the pressing plate bottom is not visible, it indicates that the contour tolerance of the pressing plate bottom is qualified.
If the above operations can be successfully completed, the pipe assembly is qualified and the inspection is completed.
Application of check fixtures
The measuring system analysis (MSA) of the check fixture shows that it meets the inspection requirements of the pipe assembly. During the operation, one workpiece can be detected every 10s. It is applied in the full inspection process of the pipe assembly. Practice has proved that the check fixture is simple and reliable in operation, and fully meets the operating requirements. The comprehensive dimensions of the check fixtures shall be retested every 50000 pieces or half a year after use.
