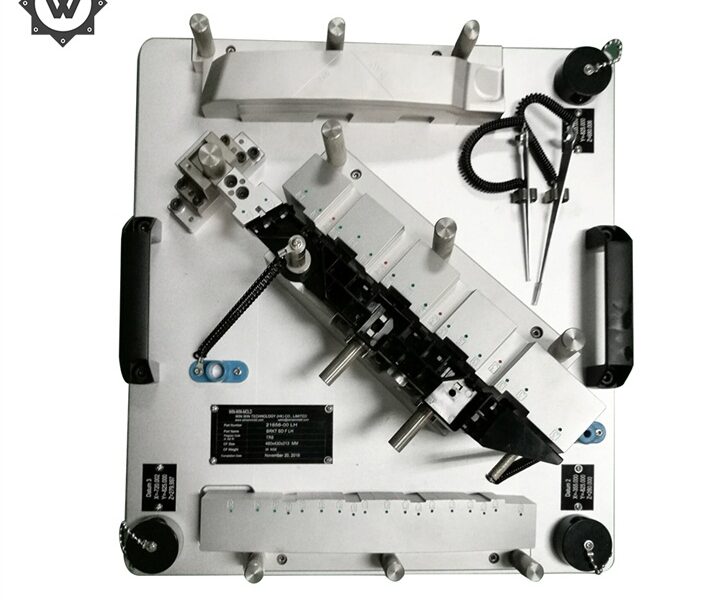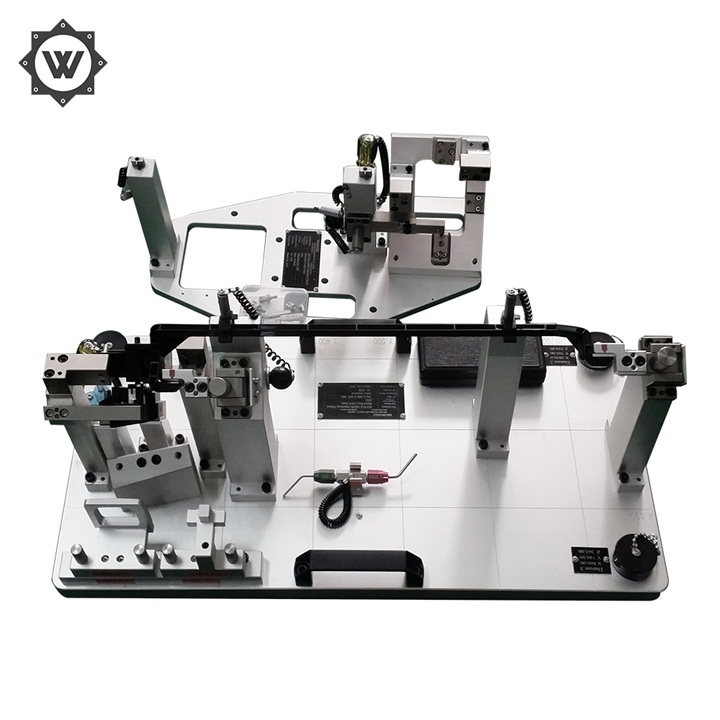
What is PUG assembly gauge?
PUG (Parts Unit Gauge) is used to check the installation matching relationship of each trim part or assembly in the car body and the installation matching relationship between each trim part. The trim parts mainly include exterior trim parts and interior trim parts. The exterior parts include: left/right headlight assembly, left/right front turn signal assembly, front bumper, front heat insulator, left/right rear headlight assembly, license plate, rear bumper, etc. The interior parts mainly include instrument panel body, mask, panel, shield, vent, etc. The quality of upholstery parts has a decisive influence on the assembly quality of passenger cars, especially on the appearance quality, and the PUG assembly inspection tool ensures the quality and stability of car assembly. If problems are found at the assembly site, they can be judged by the PUG.

Structure and function of PUG
The structure of PUG assembly inspection tool is divided into three main parts: base plate part, skeleton part and standard module part. It realizes the following main functions: Firstly, it realizes the simulation loading of the real parts of the decoration, and the installation mode of the real parts of the decoration on PUG is the same as the actual loading mode. Secondly, it is able to mix and match any combination of actual parts and standard modules on PUG. Third, it can evaluate the matching relationship between parts and simulate, evaluate, adjust, re-simulate and re-evaluate the adjustment scheme until the matching is qualified. Fourthly, it is able to make qualified judgment and grade classification for the same kind of assembly parts provided by different suppliers, different batches of parts provided by the same supplier, and different kinds of parts provided by different suppliers.
2. 3D design technology of PUG assembly inspection tool
The three-dimensional design technology plays a great role in the development of PUG assembly inspection tools. Technically speaking, for this type of complex inspection tool of PUG, 3D design must be used. Since the PUG inspection tool involves a large amount of product data, the requirements for computer hardware and software configuration are quite high. In order to ensure quality and design efficiency, solid design technology, assembly design technology, parametric design technology and assembly exploded view design technology are used in the UG software environment.
(i) Solid design. The products provided by users are generally curved surfaces, which need to be thickened or lightened when designing PUG standard modules, and the operations such as extending and cutting the surfaces are very complicated and workload is high. So it is necessary to stitch the product into a solid, and it is very easy to perform topology operations on the solid. A special note, stitching the surface into one entity also has considerable workload, but it is very beneficial to the adjustment of the standard module later, and can effectively reduce the amount of data in the digital model.
(ii) Assembly design. The design method of assembly tree can effectively reduce the occupation of computer hardware resources and improve the design efficiency; it is conducive to the matching and adjustment between the standard modules; it also makes the design module hierarchy clear and convenient for matching between modules.
(iii) Parametric design. In the design of the base plate and skeleton, parametric design can be used to make the length, width, height of the skeleton and the location and diameter of the alleviation holes can be adjusted by parameters.
(iv) Exploded view design of the assembly. In order to more clearly indicate the installation relationship of each part, the use of exploded view design is necessary, three-dimensional exploded view can clearly indicate the installation point of each part and the installation method. The need for three-dimensional exploded view is an obvious aspect that distinguishes the PUG assembly inspection tool from other inspection tools. Easy and fast generation of assembly exploded view is the advantage of 3D design.
